This week we were given the task of creating a 30-second animatic for our “Build A World” project.
We switched groups and worlds this week, which is good and allows a new perspective to be taken on each world. I have now been placed on Plant World, which is interesting and different, there is a lot to go on. However, as a group, we are unsure to what direction we should go in.
The general concept behind the planet is that it’s a world within a nutshell. Once the planet comes into contact with light, the nutshell opens up and the planet blooms. We aim to capture this within our animatic.
We each focused on an area of the animatic. I volunteered to create the characters and their movements. The others focused on backgrounds and colour.
There were many ideas thrown around, like –
- The light penetrating the nut, entering through holes and everything coming to life, leading to the characters breaking off from trees and unearthing themselves.
- The character waking up, looking around and making his way over to a mysterious beam of light, eventually leading to the shell opening and the entire world being lit up.
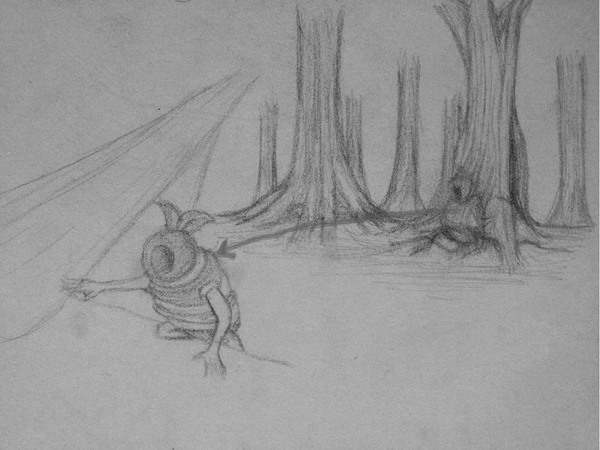
- The character falling from the top of the shell and spiralling down through the world.
We came to the decision on the last one, and we discussed the camera positions, backgrounds, character and so on until we came to the conclusion of the rough aim of the animatic. We didn’t aim to tell a story, we wanted to show the world.
Similar to Hitchcock’s films, we intend to do a long take that will take the duration of the animatic. We aim to include multiple camera movements within the shot to pull this off.
I wanted to work on a character that was previously designed within their artwork and develop upon it, to ensure I wasn’t changing the world too much. So I practised drawing some of their designs.
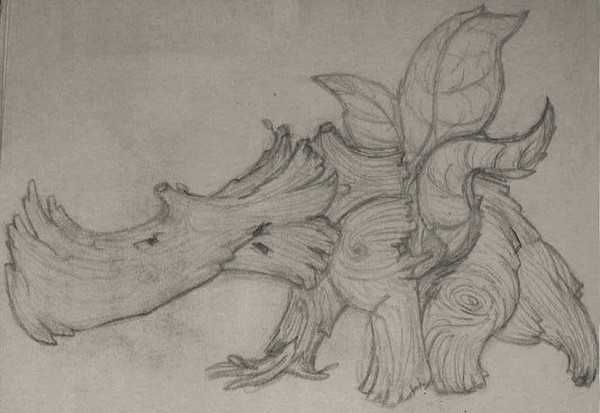
These designs below are some of my re-creations of the previous teams creatures. I wanted to ensure that I could re-create them before I attempted any movements with them.
Rhino Bark Creature, character re-creation

Large Tree Creature, character re-creation
Since the first drawing was a four-legged creature, I began to research four legged animal movement cycles. This dog movement cycle video, was one of the better ones that I had found.

“Dog Movement Cycle” in frames
I practised drawing a few movements for the rhino creature and I began to draw out a rough skeleton structure for the rhino-like bark creature. However, I then realised that it wasn’t going to work in the way that we required it to.
I then began to look at the smaller creatures that they had designed, I came across this nut character below and after consultation with my team, we made it the main character.
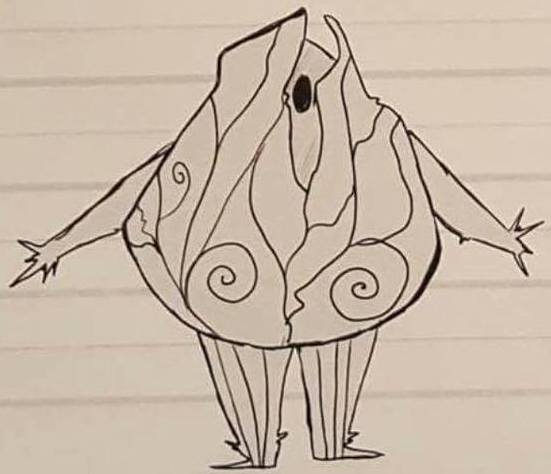
Previous Teams Design
I re-drew this character and created a potential fully bloomed character design based on the original small nut creature shape. I drew it at both a front and side view to get a better idea of the shape of the character. I thought that it could “evolve” into a bloomed state, a process that can be seen in many characters in the gaming industry as the story progresses and the character gets stronger.

My Fully Bloomed Character Design
I thought that the creature could evolve, possibly sprouting leaves, slowing the camera tilt and gliding down with its leaves acting as a parachute, or it could fall and break its shell at the bottom and get up a fully bloomed plant creature. My thought process was that as the planet bloomed, its inhabitants would bloom too, giving the creatures a better placement and coherence with their planet. However, we thought that this may be too complex and it may be difficult to tell/show within a 30-second animatic.
We went through and explored several other movements along the way, such as – The character sleeping (in a hibernation state) then rolling into the opening chasm and waking up on the way down.
Sleeping character rolling into the opening chasm
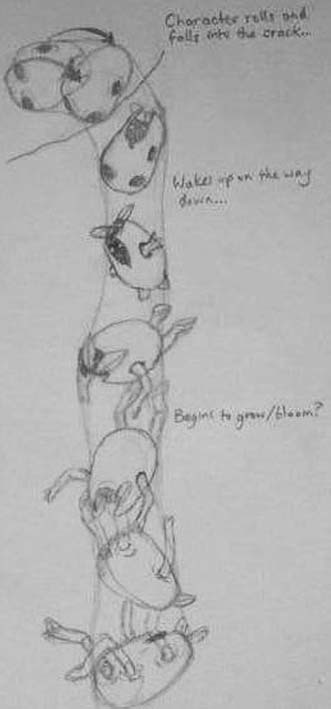
Character waking up, falling and blooming
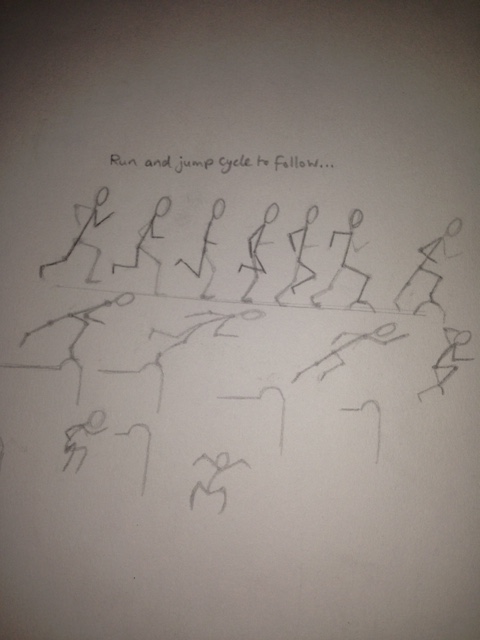
We decided to follow the original plan, so I began drawing the rough movements of the character that had been discussed. The initial plan was for the character to run and then jump into a chasm. Therefore, I drew out a skeleton for the running and jumping process.
Again, walking and running cycles helped me to achieve this, like the examples below. Through the examples below, I tried to achieve to get a mixture of cartoon and realism, therefore I used both types of designs.

Realistic Human Running Cycle guideline

Cartoon Human Running Cycle guideline
I drew the rough skeleton of the character in these movements. I also used Adobe Premier to test out the frames individually to ensure that they flowed smoothly in a sequence.
Character Skeleton Movement
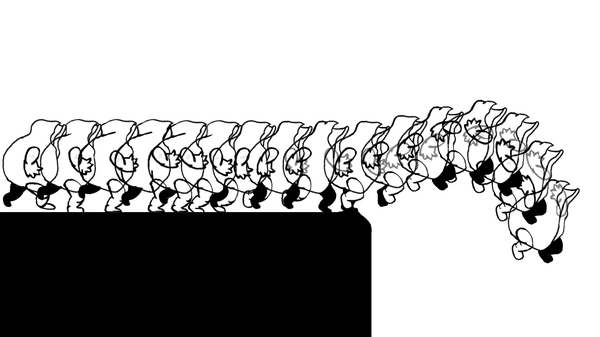
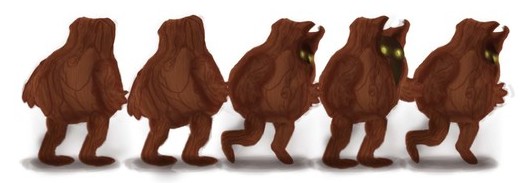
I drew the skeleton in 5 sections, the main body, the 2 arms and the 2 legs, this made it more simplified and easier to adjust and design. The team thought it was best to reduce the movements, as it was an animatic, not a full animation. Therefore, I simplified the running sequence into 4 main movements, as shown below.

Character Design and Movement Tests
The story then developed again, instead of running and jumping into the chasm, the character starts in a hibernating sleeping state, wakes up, looks around, watches the sun rise, then loses its balance on the edge of the chasm and falls in (repeatable fall on loop).
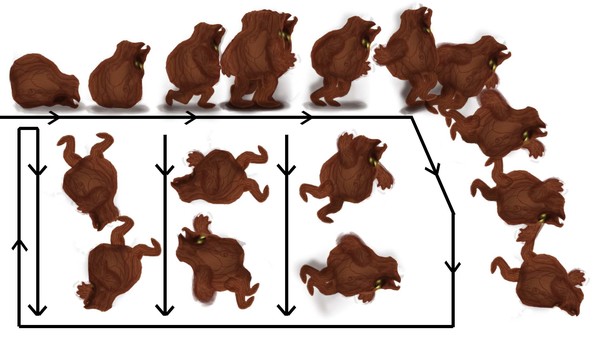
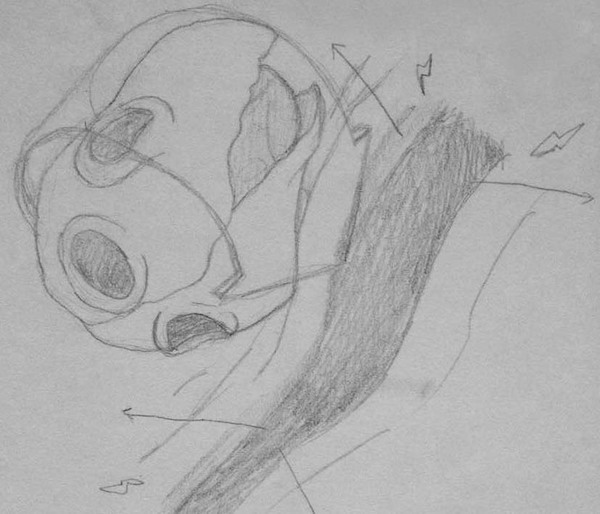
Character falling sequence
The turning frames within the fourth frame from the previous picture
Overall, I feel it wasn’t very successful, there are a lot of things I would change about the Animatic if we were to do it again. For example, the lack of story, the experimental single camera angle/long take, the team approach/process to it and I would make more character developed movements. However, for it being a weeks work, the first animatic or moving sequence that we have done and a new group, I think it was alright.
